
How to Clean Greasy Kitchen Cabinets Without Damaging the Finish
Use a cautious surface-first approach to cooking residue, with practical advice on cloths, brushes, and what not to buy.
Our guides explain practical buying considerations; they do not represent hands-on product tests. The shopping links below are ordinary retailer links and currently do not earn us a commission. How our links work.
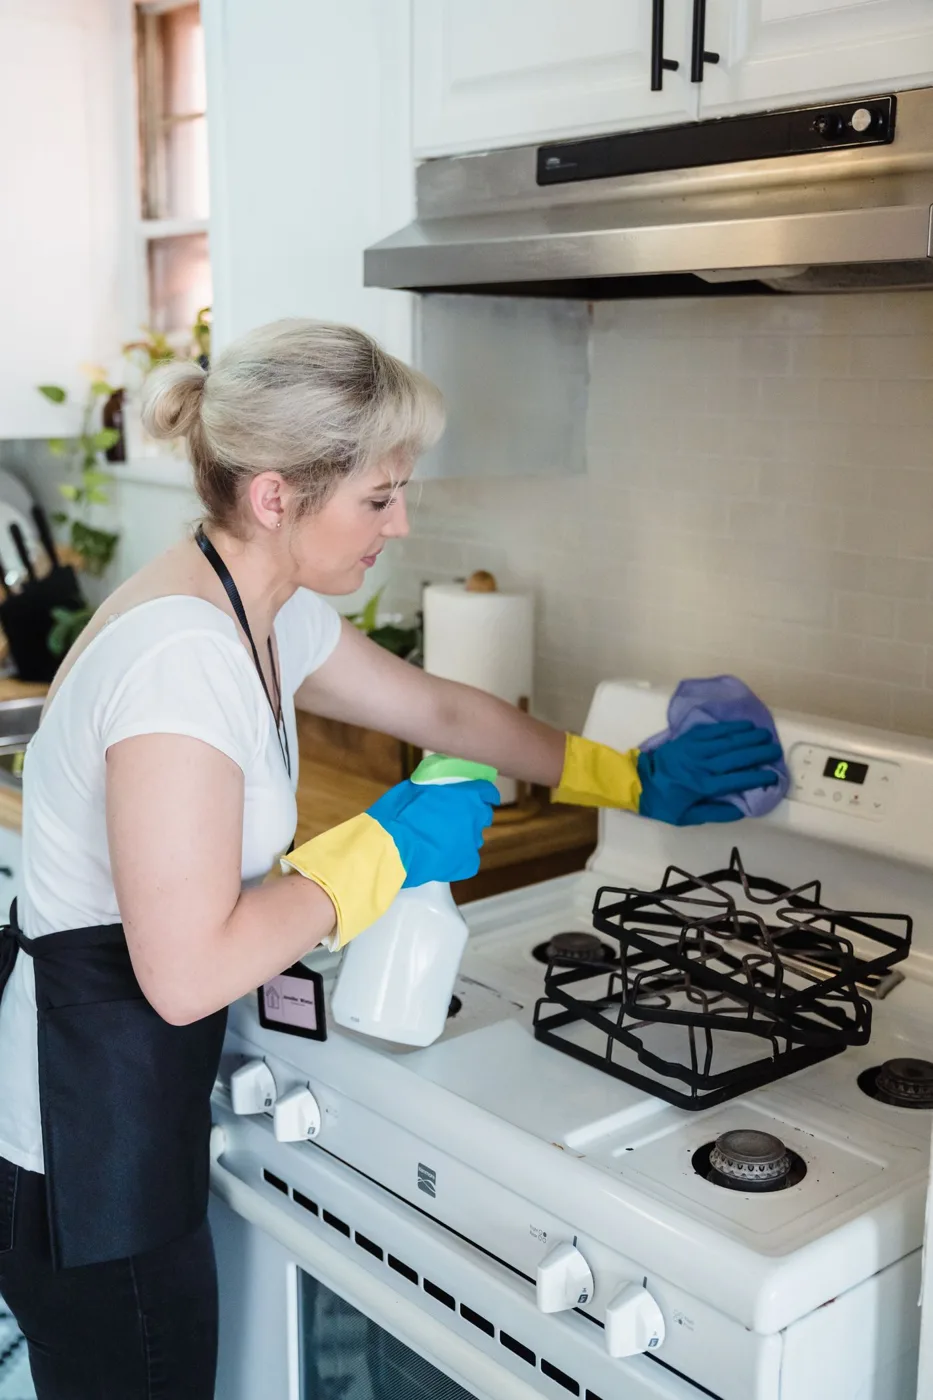
Cooking residue can settle on the cabinet nearest the stove long before the rest of the kitchen looks dirty. Handles become sticky, upper doors collect a dull film, and the impulse is to reach for the strongest degreaser available. Cabinet finishes vary widely, however, and aggressive cleaning can create a permanent problem. Begin with the cabinet maker's care instructions and the least aggressive permitted method.
Identify the finish and inspect it
Painted wood, stained wood, laminate, thermofoil, and metal do not share identical cleaning needs. Look for care documents, a manufacturer label, or information from the installer. If you cannot identify the finish, proceed cautiously and seek suitable guidance rather than assuming a social-media recipe applies. Damaged or peeling areas need particular care because moisture can reach vulnerable material beneath the finish.
Remove loose dust gently before wet cleaning. Do not scrape at sticky residue with a blade or abrasive pad. Test any permitted product in an inconspicuous area and allow the surface to dry before deciding whether it is suitable. A test does not guarantee every damaged section will respond the same way, so keep checking as you work.
Choose tools that limit abrasion
| Tool | Useful role | Limitation |
|---|---|---|
| Soft washable cloth | Controlled wiping on compatible finishes | Dirty cloths can carry grit |
| Small soft brush | Detail work around approved hardware | Bristles or metal parts may scratch |
| Separate dry cloth | Removing remaining moisture as directed | Needs to stay clean rather than spreading residue |
| Step stool suitable for the task | Reaching upper areas safely | Requires stable placement and proper use |
A melamine sponge or heavy-duty scrub pad is not a universal shortcut. Abrasive action may dull or damage some finishes. Do not select a tool simply because it removes a mark quickly from another material. A soft cloth and patient, repeated passes with a compatible cleaning method are often a more cautious starting point.
Work in small areas
Apply cleaning products according to their labels and cabinet guidance. Where permitted, controlled application to a cloth can reduce overspray and pooling around seams, but follow the specific instructions rather than treating this as a universal rule. Avoid saturating edges, joints, hinges, or damaged areas. Wipe and dry as directed before moving to the next section.
Start with a modest area near a handle rather than the entire bank of cabinets. Change cloth sections as residue transfers. If the surface remains sticky, do not immediately combine products or increase concentration beyond the label. Never mix cleaning chemicals. Reassess whether the product is suitable or whether the residue or finish needs professional advice.
Hardware deserves separate attention
Cabinet pulls may be brass, coated metal, painted material, or another finish with its own restrictions. Keep cleaning products from sitting around mounting holes. If hardware can be removed safely and the maker recommends separate cleaning, store screws carefully and document where pieces belong. Do not remove hardware merely to make a routine wipe more elaborate.
A narrow brush can reach detail around a handle, but its tip should not force moisture into the joint. Clean only what the finish and construction can tolerate. If a pull is loose, address the fitting appropriately rather than trying to clean around movement indefinitely. Grease may draw attention to an area that also needs a small maintenance repair.
Reduce repeat buildup
Use the kitchen's ventilation equipment according to its instructions when cooking, and maintain its filters as directed. Wipe fresh splashes promptly when the surface is safe to touch and the care guidance allows it. A gentle regular routine can make later cleaning less demanding. Keep products away from hot surfaces and follow all ventilation and safety precautions.
The top of an upper cabinet can collect dust and cooking residue. Reach it only with suitable equipment and safe footing; do not stand on a countertop or unstable chair. If access is difficult, a compatible extension tool or professional help may be more appropriate. The desire to finish one cleaning task is not a reason to improvise an unsafe climbing setup.
What to skip and common questions
Skip a powerful degreaser until you confirm it is approved for the cabinet finish. Avoid oils or polishes presented as universal restoration products. They may be unsuitable or affect later refinishing.
Can dish soap be used? Some cabinet makers allow a mild diluted solution, but the specific finish guidance determines that. Rinsing and drying requirements still matter.
Why does the door look dull afterward? Residue or finish damage are possible causes. Stop and consult the manufacturer rather than adding another product on top.
What is worth buying? Clean soft cloths and a suitable detail brush may be enough. Spend on identifying the right method before adding stronger chemicals.
Explore your options
Use these retailer collections to compare current choices. Check the exact dimensions, materials, care instructions, delivery costs, and return terms before ordering.
Soft cloths and detail brushes
Consider it for: Compare soft cloths and gentle detail tools for controlled cleaning.
Keep in mind: Cabinet finish guidance takes priority over generic tool marketing.
Browse retailer options ↗Gentle cleaning tools for cabinet care
Consider it for: Browse low-abrasion tools before considering stronger cleaning products.
Keep in mind: Stiff bristles or trapped grit can damage vulnerable finishes.
Browse retailer options ↗Sources & further reading
Editorial information and linked destinations reviewed October 6, 2026. Product ranges and specifications can change. Send a correction or a question.
A little more inspiration
More Cleaning ↗
The Small-Home Cleaning Kit That Covers Everyday Messes
Build a compact cleaning kit around your surfaces, storage space, and weekly routine instead of buying a bottle for every room.
4 MIN READ
Microfiber or Cotton Cleaning Cloths? Pick by the Job
Compare cloths for dusting, spills, kitchen wiping, and delicate surfaces, plus the care routine that keeps reusable cloths useful.
4 MIN READ
Flat Mop or Spray Mop for Everyday Hard Floors?
Compare water control, pad care, storage, and ongoing costs before choosing a mop for your flooring.
4 MIN READ